
Makeup Tips for Eyeglass Wearers
Eyeglasses are a style statement, but they also change how the world sees your face. Lenses can magnify shadows under the eyes, soften bold makeup, or create glare that competes with your features. The good news is that a few simple adjustments to your makeup routine can help your eyes look bright, defined, and polished behind any frame.

Choosing Frames That Flatter
Before reaching for makeup, start with the frame itself. The right shape and color will complement your features rather than fight them.
Match the frame to your face shape. Round faces are balanced by angular frames; angular faces are softened by rounded or oval styles. When in doubt, choose the opposite of your face's dominant angles; contrast creates visual balance.
Choose a non-reflective lens coating. Anti-reflective coating minimizes glare so people see your eyes, not their own reflection in your lenses. It is worth the modest upgrade.
Let your coloring guide the frame color. Warm skin tones glow in gold, brass, copper, and tortoiseshell. Cool skin tones shine in silver, pewter, gunmetal, and true black. If you are unsure of your undertone, check the veins on your inner wrist: blue or purple signals cool; green signals warm. Black frames can look striking, but if the black is stronger than any feature on your face, the glasses will dominate. For a subtler effect, choose a color that harmonizes with your natural tones
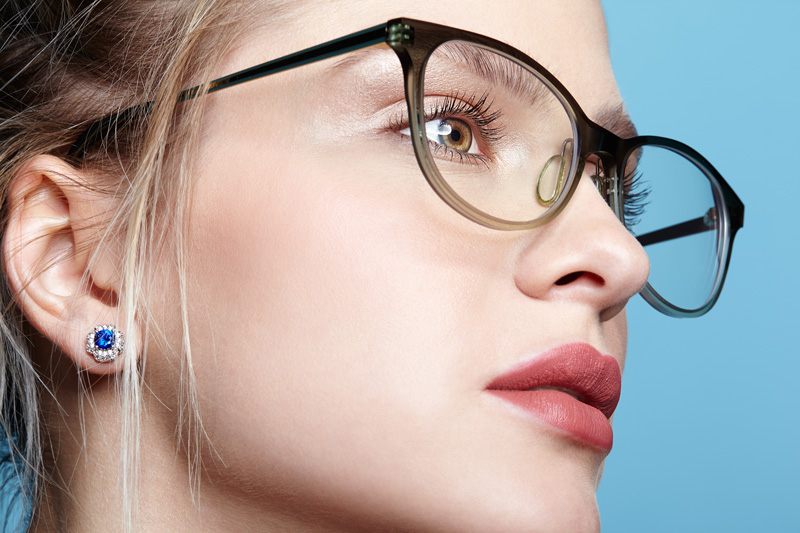 A Makeup Routine for Glasses
Once your frames are chosen, the goal is definition and brightness. Glasses can flatten dimension around the eyes, so the routine below focuses on lifting shadows, sharpening lines, and balancing color.
Step 1: Conceal and Brighten
Dark circles are magnified by lenses, so start with a lightweight concealer to lighten and brighten the under-eye area. Set with a dusting of translucent powder so product does not shift onto your frames.
Step 2: Define the Brows
Strong brows frame the face, and this is especially important when glasses create a horizontal line across the mid-face. Fill sparse areas with a brow pencil or tint, following the natural arch. A defined brow keeps the face looking structured even behind thick frames.
Step 3: Build Soft Eye Definition
Neutral shadows with a hint of shimmer, applied with a pressed or loose mineral formula, keep eyes looking open without appearing heavy under magnification. Use a lighter shade across the lid and a slightly deeper tone blended into the crease. A touch of highlighter at the inner corner adds brightness.
 Step 4: Line According to Frame Weight
Eyeliner keeps eyes from disappearing behind lenses. Match the liner weight to the frame: thick, bold frames can handle a thicker, more defined line; thin, wire frames call for a finer, softer stroke. Waterproof formulas are ideal since glasses can cause eyes to water slightly, especially in changing temperatures.
Step 5: Curl and Coat
Curl lashes so they do not brush against your lenses when you blink. Apply mascara to the top lashes only; coating the bottom lashes can leave smudges on the lens.
Step 6: Balance the Lip
Your finishing touch should balance the intensity of your eye makeup. If you went bold with liner and shadow, choose a softer lip color. If you kept the eyes neutral and understated, a bolder lip can add personality. The key is balance; let one feature lead and keep the other supporting.
A Final Thought
Eyeglasses do not hide your face; they draw attention to the center of it. With the right frame choice and a few makeup adjustments, your eyes can look as defined behind lenses as they do without them.
All Colors For Success cosmetics are cruelty-free, paraben-free, and safe for sensitive skin and eyes